誰吃了我的 zsh?! 在 GCP Workstation 使用 zsh 的方法
前言
最近把公司的開發環境從虛擬機器移到 GCP 上 Cloud Workstation(以下都稱為 Workstation),設定完基本的開發環境(如 Python、NVM、Vim 等工具)後就開始開發了。但因為公司的政策,Workstation 會 Idle shutdown,某次重開後發現我的 zsh 居然消失了!
後來在官方文件看到裡面有提到一段:
永久磁碟:連結至工作站 VM 並掛接至 /home 資料夾的永久磁碟,可讓您在工作階段結束後儲存資料和檔案。
才知道在 Cloud Workstation 中,只有 /home 目錄的檔案會被保留,那就表示如果要在 Cloud Workstation 使用 zsh,用 apt install 是行不通的!
如果想跳過測試過程,直接查看安裝步驟,可以參考懶人包。
嘗試安裝的過程
Clone zsh 的原始碼並進入目錄:
1
$ git clone https://github.com/zsh-users/zsh.git && cd zsh因為 zsh 的 master 是開發測試 branch,要找穩定版需要透過 tag 去找 branch,例如安裝正式版 5.9:
1
$ git checkout tags/zsh-5.9 -b zsh-5.9自己 build 的說明文件寫在 INSTALL 中,文件第一步是設定 configure,所以執行:
1
$ ./configure --help來查看說明。
遇到第一個問題:clone 回來的 zsh 目錄沒有 configure 檔案!
再次查看文件,發現如果沒有 configure 的話需要先執行:
1
$ ./Util/preconfig但執行後失敗了,似乎缺少某些套件。
透過 ChatGPT 得知需要 Autotools 來輔助 Makefile,並安裝相關套件:
1
$ sudo apt install -y autoconf automake libtool再次執行
./Util/preconfig,應該就會成功。接著用 configure 來設定輸出的目錄:
1
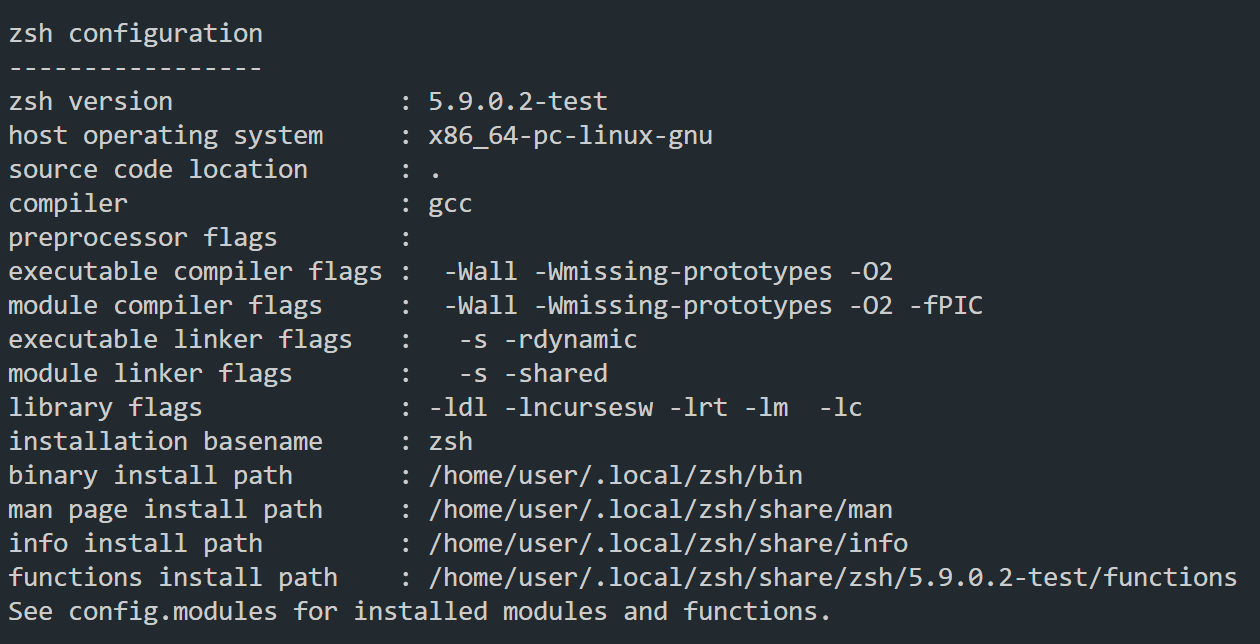
$ ./configure --prefix=$HOME/.local/zsh(這裡將 zsh 安裝在
~/.local/zsh中)。遇到以下錯誤:
1
2
3
4
configure: error: "No terminal handling library was found on your system.
This is probably a library called 'curses' or 'ncurses'. You may
need to install a package called 'curses-devel' or 'ncurses-devel' on your
system."缺少套件,安裝
libncursesw5-dev:1
$ sudo apt install -y libncursesw5-dev再次執行 configure,成功了!
最後 build zsh:
1
$ make install因為安裝的目錄在
~/.local/zsh/,所以執行測試時需要用:1
$ ~/.local/zsh/bin/zsh來測試。
如果一切正常,可以修改
~/.bashrc,讓啟動時自動開啟 zsh。為什麼不能用chsh來指定預設 Shell 呢?
因為在 Workstation 中,只有/home底下的檔案才不會消失,所以即使用了chsh,下次啟動仍會使用預設的 bash。修改
~/.bashrc:1
2
3
4
5# ~/.bashrc
if [ -f "$HOME/.local/zsh/bin/zsh" ]; then
export PATH="$HOME/.local/zsh/bin:$PATH"
exec zsh
fi重新啟動 Workstation,輸入
echo $0,如果成功顯示zsh,那就大功告成了!
懶人包
更新並安裝必要的相依套件:
1
2
3
$ sudo apt update && sudo apt install -y \
build-essential libncursesw5-dev libreadline-dev \
libgdbm-dev libssl-dev libffi-dev libtool autoconf gitClone zsh 並切換到穩定版本:
1
2
3
4
$ cd ~
$ git clone https://github.com/zsh-users/zsh.git
$ cd zsh
$ git checkout tags/zsh-5.9 -b zsh-5.9設定 configure:
1
$ ./Util/preconfig安裝:
1
2
3
$ ./configure --prefix=$HOME/.local/zsh
$ make -j$(nproc)
$ make install修改
~/.bashrc:1
2
3$ echo '' >> ~/.bashrc
$ echo 'export PATH="$HOME/.local/zsh/bin:$PATH"' >> ~/.bashrc
$ echo 'if [ -x "$HOME/.local/zsh/bin/zsh" ]; then exec zsh; fi' >> ~/.bashrc
後記
只是想在 Workstation 中用個 oh-my-zsh 居然搞了這麼久,不過這個經驗也滿有趣的,又稍微了解了一點 Workstation,另外要在自己電腦用 VS Code 連到 Workstation 的 VM 又是另一個故事了,改天在寫吧。